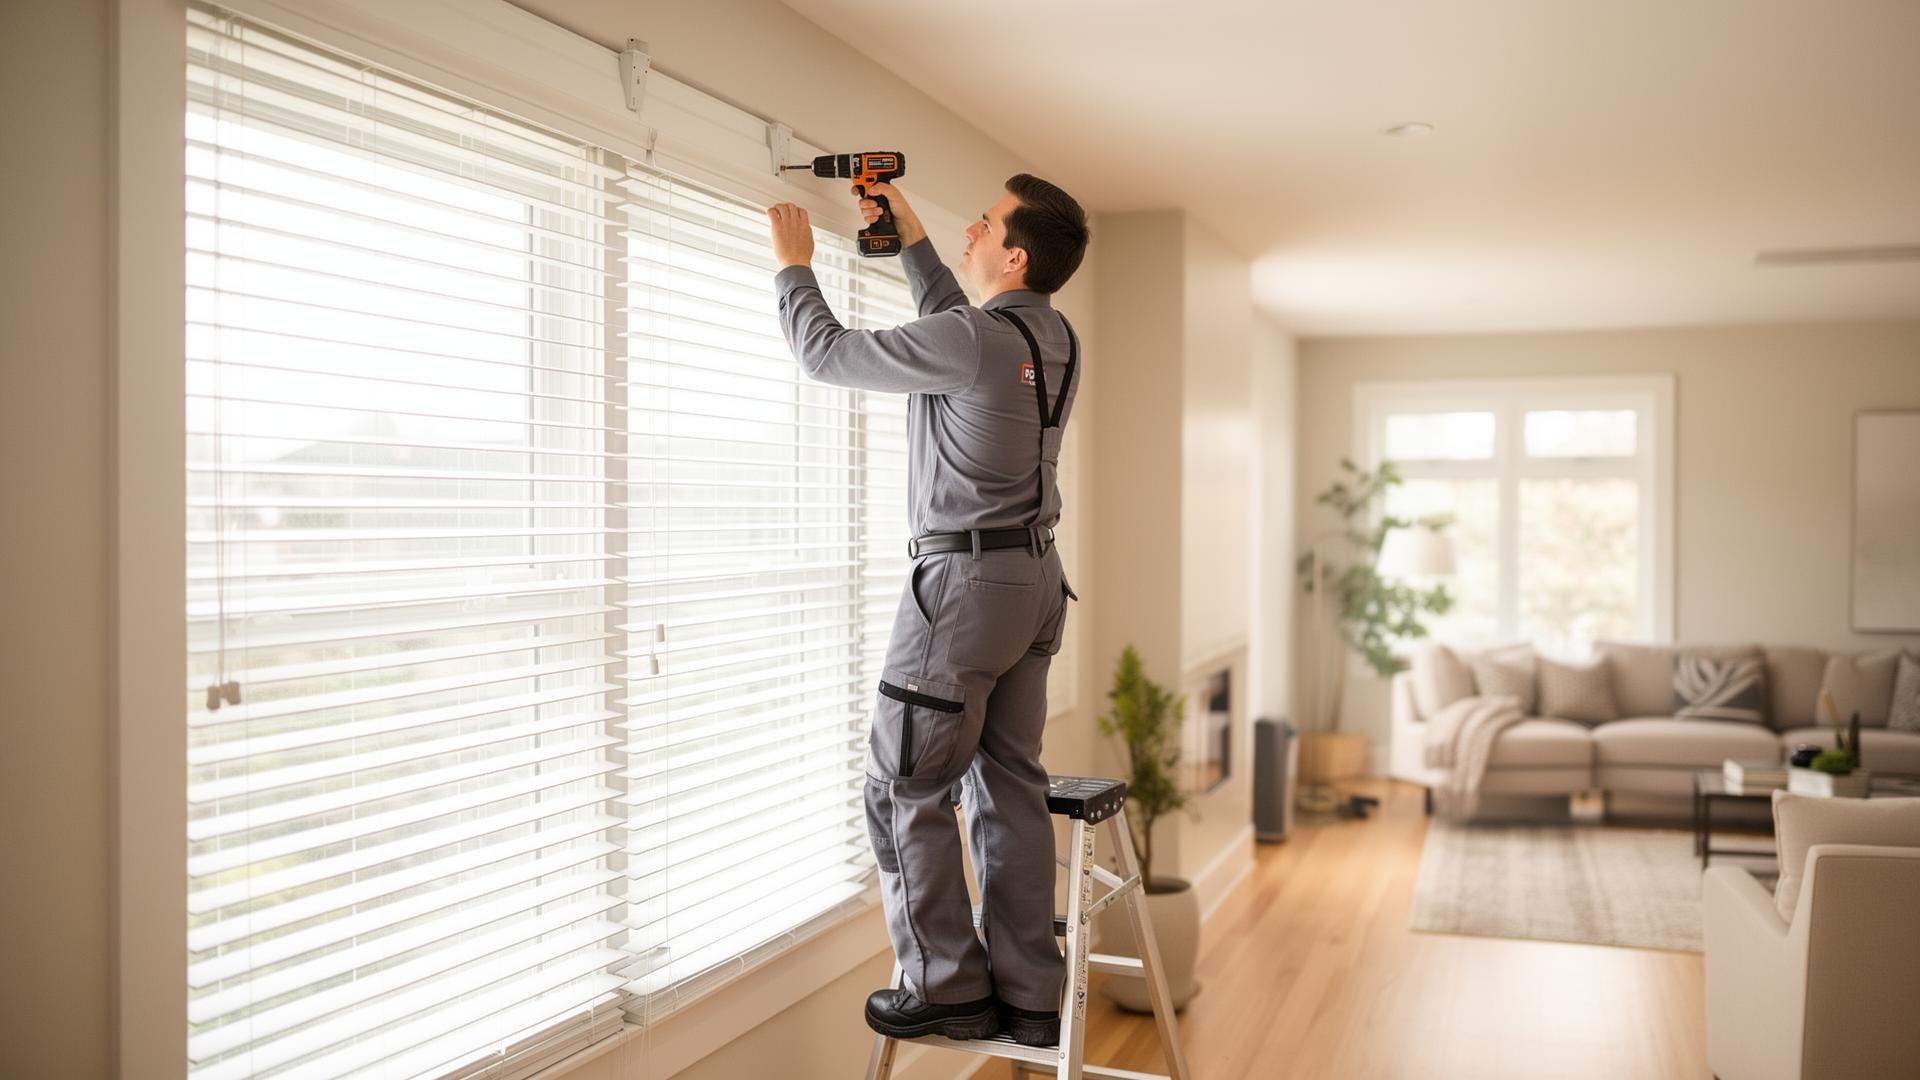
The short answer: for an inside mount, measure the width of the window opening at the top, middle, and bottom and use the narrowest number; measure the height on the left, center, and right and use the longest. For an outside mount, measure the area you want to cover and add about three inches to each side. Always measure in inches to the nearest 1/8 inch, and never round.
That is the rule of thumb. The details below are what separate a blind that looks built-in from one that looks like it came off a shelf.
Step 1: Decide between an inside mount and an outside mount
Before you pick up a tape measure, decide where the blind or shade will sit. This one choice changes how you measure.
Inside mount
The blind fits inside the window frame. It looks clean and architectural and shows off your trim. Choose an inside mount when:
- Your window frame is deep enough for the headrail. Most blinds and shades need somewhere between 1 and 3 inches of depth, depending on the product.
- The opening is reasonably square. Frames that lean, pinch in, or bow out (more on that below) can leave uneven gaps.
- There are no handles, cranks, or alarm sensors in the way.
Outside mount
The blind mounts on the wall or trim above the window and covers the whole opening. Choose an outside mount when:
- You want the most light blocking, such as in a bedroom or nursery, because the treatment overlaps the edges of the frame.
- The window is shallow, out of square, or has obstructions.
- You want a window to look larger. Mounting higher and wider than the frame makes a window feel taller.
Step 2: Measure an inside mount
- Width: measure inside the frame from side to side at the top, middle, and bottom. Write down the narrowest of the three. Windows are rarely perfectly square, and the narrowest point is where the blind has to fit.
- Height: measure from the top inside of the frame down to the sill on the left, center, and right. Write down the longest of the three so the blind reaches the sill everywhere.
- Depth: measure from the front edge of the frame back to the glass or the nearest obstruction. This tells you which products will fit flush.
Check the shape of the opening, not just its size
Those three widths and three heights do more than find the smallest number. Compared side by side, they tell you the shape of the opening, and very few openings are a true rectangle. When we measure, we look for three conditions, especially on inside mounts and sometimes on outside mounts too:
- Racking, left \\ or right //. The whole frame leans, so the opening is a parallelogram rather than a rectangle. The widths may match while the corners are out of square. Measure both diagonals, corner to corner: if they differ, the frame is racked, and a blind that fits at the top can bind or hang crooked at the bottom.
- Hourglassing ) (. The sides pinch in toward the middle, so the middle width is the narrowest of the three. A blind cut to the top or bottom width will rub or catch as it passes through the middle.
- Billowing ( ). The sides bow out, so the middle width is the widest. A blind cut to the narrowest point will fit but leave a visible light gap at the middle of each side.
Using the smallest measurement is the starting point, not always the final number. Depending on the product, we may adjust the ordered size up or down to accommodate the condition. A rigid headrail or a shutter frame has to clear the tightest point in the opening, while a soft shade can sometimes be ordered slightly fuller to close a gap. On a badly racked or bowed opening, the right answer may be to switch to an outside mount.
If you are measuring yourself, give the manufacturer your exact measurements and do not make your own deductions. A custom manufacturer already takes a small, precise allowance off an inside-mount width so the blind clears the frame. If you subtract as well, you will end up with gaps on both sides. Instead, write down all six measurements, both diagonals, and a note about any lean, pinch, or bow, so whoever orders the product can decide whether it needs adjusting.
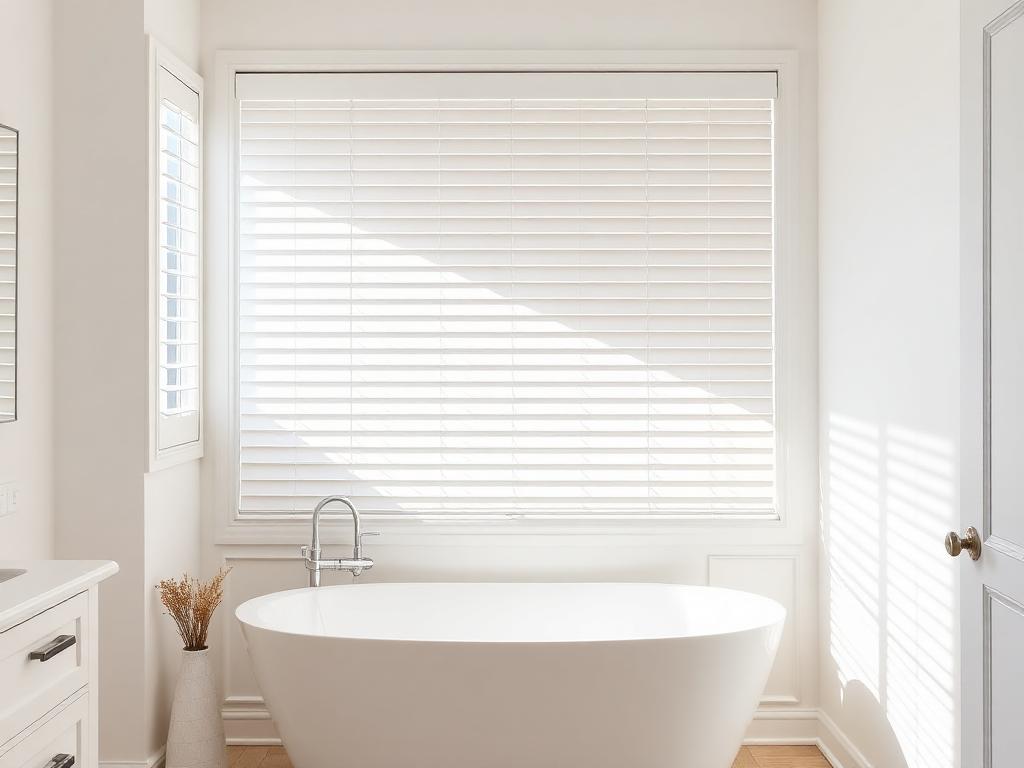
Step 3: Measure an outside mount
- Width: measure the width of the area you want to cover, including the trim, then add about 3 inches on each side for privacy and light control.
- Height: measure from where the headrail will mount (usually 2 to 3 inches above the top of the frame) down to where you want the treatment to end, typically the bottom of the sill or apron.
- Clearance: check that the headrail will clear door frames, crown molding, and anything on the wall nearby.
The five most common measuring mistakes
- Measuring one place only. Old homes in particular have frames that change width by a quarter inch or more from top to bottom, and a single measurement cannot show you a frame that is racked, hourglassed, or billowed.
- Rounding. Custom products are built to the eighth of an inch. A rounded number is a wrong number.
- Mixing up width and height. Always write width first, then height, the way the industry orders them.
- Using a cloth tape. Use a steel tape measure. Cloth tapes stretch.
- Forgetting the sill and the crank. A crank handle, a sloped sill, or tile that protrudes can stop a blind from sitting flat.
Why most of our customers let us measure
Every product we sell is made to order for one specific opening, and custom orders cannot be returned once manufacturing begins. That is why our free Shop at Home consultation includes professional measuring with digital laser tools, to the 1/8 inch for blinds and shades and to the 1/16 inch for plantation shutters. Our consultant also checks every opening for racking, hourglassing, and billowing, notes obstructions, checks frame depth, and confirms the right mount and final order size for each window before anything is ordered.
Then our own insured installers mount each product level and square and test it in front of you. Installation is free on orders over $500. If you want to measure a window yourself to budget a project, the steps above will get you very close. When it is time to order, let a professional confirm it.
Frequently asked questions
Should blinds be inside or outside the window frame?
Inside mounts look cleaner and show off trim. Outside mounts block more light, hide uneven frames, and make windows look bigger. Bedrooms often benefit from an outside mount; living spaces with nice trim usually look best with an inside mount.
How much depth do I need for an inside mount?
It depends on the product. Many blinds and shades need between 1 and 3 inches to sit fully inside the frame, and some need more to mount flush. Measure your depth and ask about the specific product.
Do I subtract anything from my measurements?
Not on your own. Give the exact inside measurements for an inside mount, and the manufacturer applies its standard deduction. If the opening is racked, hourglassed, or billowed, the ordered size may need to go up or down depending on the product, which is a judgment call best left to a professional measure.
Can you measure my windows for free?
Yes. Measuring is part of our free in-home consultation across Greater Cincinnati, Dayton, and Northern Kentucky, with no obligation to buy.
Ready to skip the tape measure? Schedule your free Shop at Home consultation and we will measure every window for you.